


How to prepare your home for property photographs
How to prepare your home for property photographs
Great presentation is an essential part of successful marketing. Property photos, whether online, a window display, or a printed brochure, can create instant impact for buyers.
It’s worth taking the time to get the best photos so we asked our professional photographer, Kate Watkins of NicheCom, for some hints and tips for homeowners to prepare your home and make the most of the photographer’s visit.
Booking the appointment
- Our professional photographers will make sure the photos look as good as possible whatever the weather. Sadly we can’t control the sunshine but we can add a blue sky to the final photo.
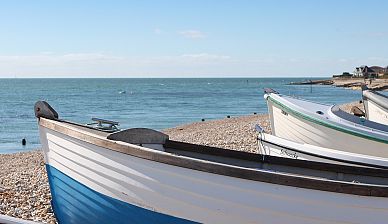
- If you live by a tidal location, book the appointment for when the tide is in.
- You’ll want to make sure the home looks cared for so it’s a good idea to just run the hoover round and wash or wipe the hard floors. Little things like this really do make a difference.
- Sparkling clean windows let in more light so try to do this in advance as there won’t be time once the photographer is already setting up.
- Remove pet items so they’re not in the photos, such as the cat litter tray, dog bed and pets’ bowls. Pets themselves can sometimes be a bonus in the actual photos!
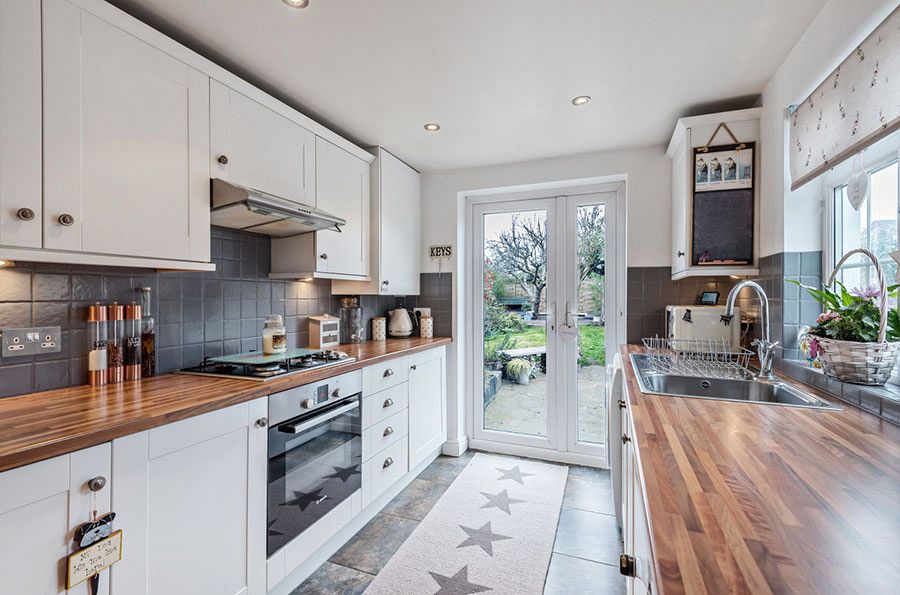
The Kitchen
- Aim to declutter key areas such as kitchen worktops and anything stored on top of kitchen cupboards. It needs to be tidy but it’s still your home, so leave the kettle and toasters but take away some of the other worktop appliances such as a smoothie maker or baby bottle steriliser.
- For a crisp photo which focuses on the kitchen space and fittings, ideally remove children’s drawings or magnets from the fridge.
- Wipe the crumbs off the worktop, especially if it’s dark granite which looks even better with a high shine clean.
- No one wants to see the washing up liquid and dishcloths when they’re looking to buy a a new home, so tuck them away in a cupboard during the photo shoot.
- Similarly, remove any piles of paperwork, especially with any financial information on them in case buyers zoom in on photos.
- If you’re leaving a fruit bowl in the shot, make sure it’s generously filled as that’s more photogenic, and of course you get to enjoy all the fruit later.
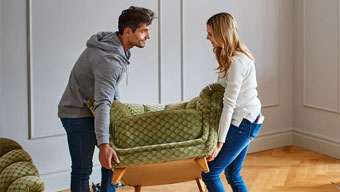
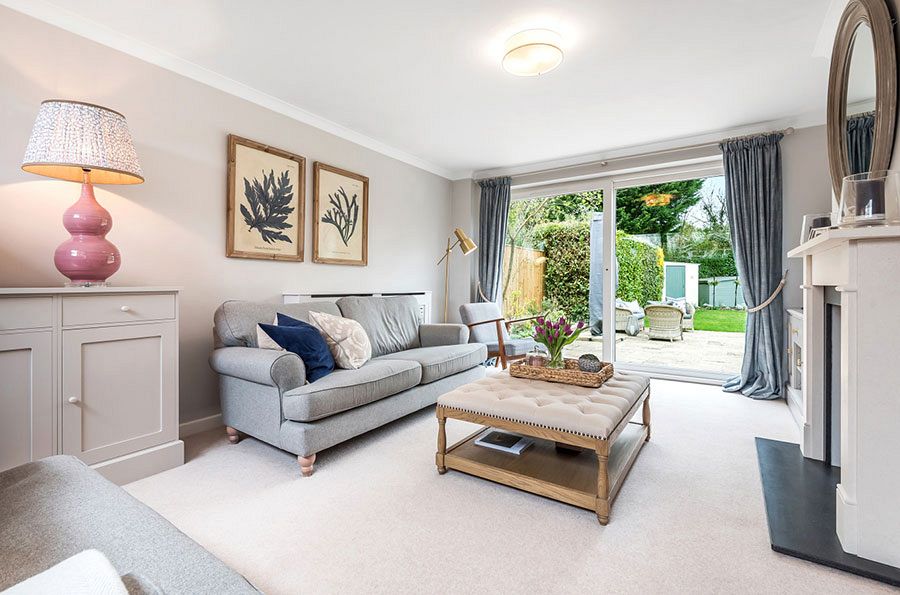
The Living Rooms
- Our photographers can blur family photos unless if you’re having a 3D virtual tour video, in which case take away any images you want to keep private. For 3D tours, everything can be seen, so remove any valuable antiques or artefacts. Move them away.
- Plump up all the cushions and if they still look a bit sad, you may even want to consider buying new cushion fillings which you can take with you to your next home.
- Remember newspapers and magazines can quickly date so are best removed. Cards, whether Christmas, Easter or Valentine’s Day will also make a picture look dated so take them down and replace them once the photographer has finished.
- Ideally restore any rooms which have repurposed areas. If you have a ‘working from home’ desk and files in the living room, keep them clear for the photos as your buyers may not use the space as a multipurpose room.
- Fireplaces are often filled with ornamental logs or candles but if you have an open fire, don’t worry about lighting it before the photographer arrives. Just have the fire laid ready for lighting and it’s a good idea to sweep the fireplace under the grate.
- When the photographer is ready to take the photo, they’ll light a piece of newspaper (so have some handy) to create an instant flame in the fireplace while the photo is taken. This gives a brighter flare than the gentle embers of an established open fire.
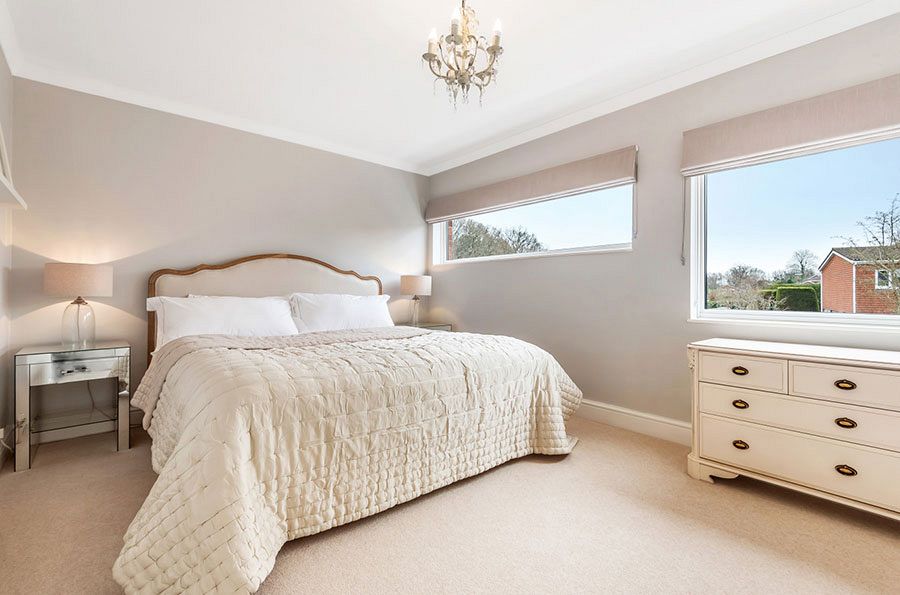
Bedrooms
- Make all the beds and straighten the covers as much as possible. It may seem an effort but you could either iron the duvet covers or pull them as tight as possible, similar to how hotels present their rooms to create a sharper image.
- If you have a choice of duvet covers, ideally choose a plain design to create a calmer impression and to encourage buyers to view the room itself rather than the furnishings.
- Bedside tables should be as clear as possible so instead of piles of reading material, just have one or two books on show.
- Remove the laundry basket, perhaps putting it temporarily in the smallest room which won’t be photographed.
- For children’s rooms, declutter and tidy so lego isn’t scattered across the floor. It’s impression you see in the final photos will also be the first impression made on any potential buyers.
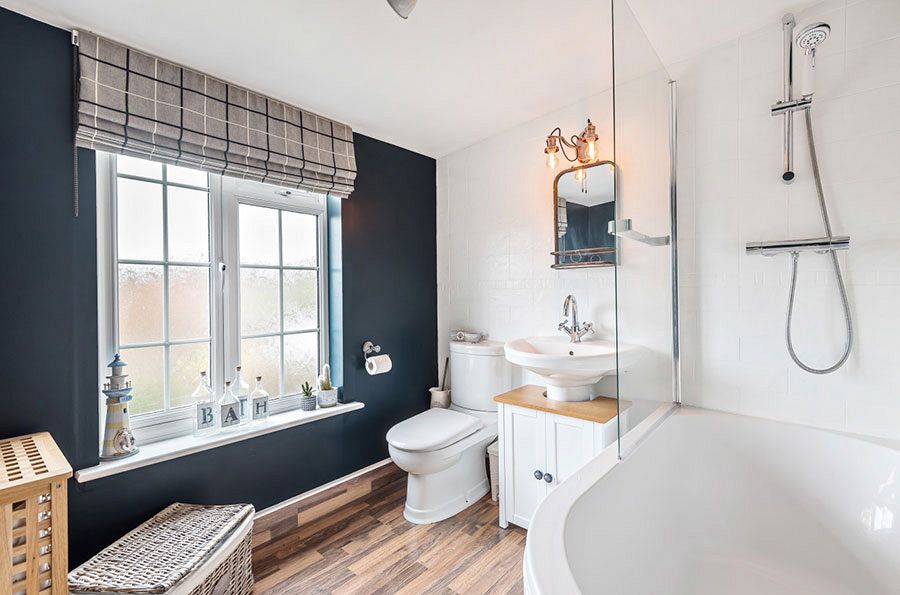
Bathrooms
- Bathrooms should be cleared of bottles of shampoo and shower gel, especially those which are almost empty. However if you have any luxury brands, such as those you’d see in a show house like Molton Brown or The White Company, they can be used to style the bathroom setting.
- Remove children’s bath toys, just while the photos are being taken.
- Remove all the towels and bathmats from all bathrooms. Buyers would prefer to see the heated towel rails included in the property rather than your towels, however stylish.
- Equally potential buyers won’t want to see the loo brush or bleach, so take them out of sight while photos are in progress.
- Finally, remove bath mats and any pedestal mats so you’re presenting a crisp, clean, sparkling bathroom.
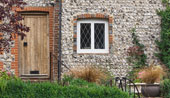
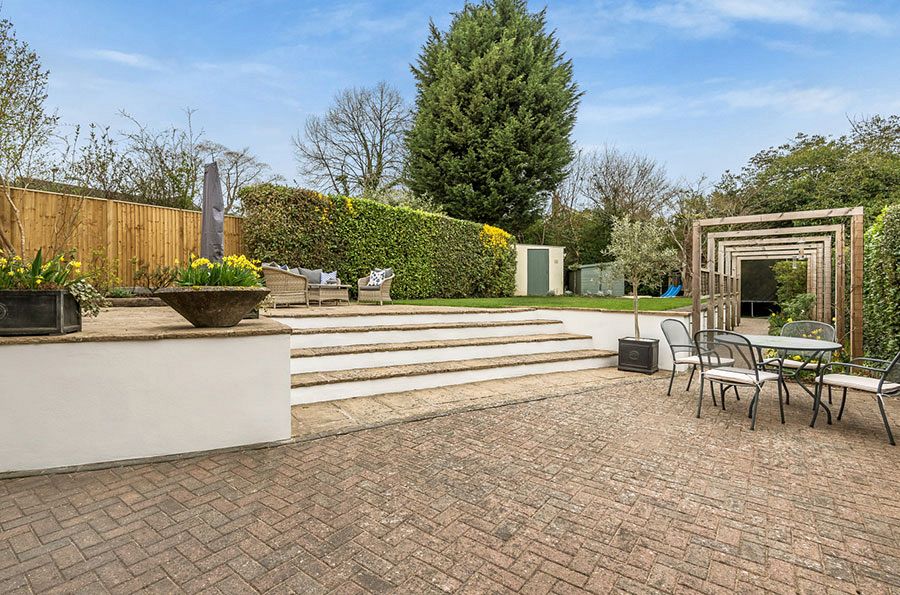
Driveways and gardens
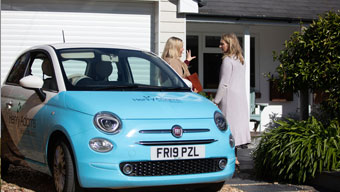
- Move any cars off the drive while the external photos are being taken so potential buyers can focus on the property itself.
- Dustbins and recycling bins should all be removed from the camera’s view so put them away, perhaps in the garage, for a couple of hours.
- In the garden, take the covers off garden furniture, put any cushions out and you may even want to open the parasol umbrella.
- Remove the rotary washing line if you have one. If it’s concreted in to the base, retract it and put the cover on. Tidy the hose and watering cans away so the garden looks neat.
- If you’re lucky enough to have a swimming pool, remove the cover and ensure the water looks clean.
- Remove children’s smaller toys like footballs, scooters or bikes.
- The garden doesn’t have to look immaculate but ideally should look cared for. General maintenance is all that’s needed: mow the lawn in advance of the photographer’s visit, weed the main flower beds, and if you have time, trim any straggly hedges.
Extras and accessories
- Although not essential, fresh flowers always make a room look inviting. The photographer can also use them in different rooms, perhaps in a different vase.
- There’s no need to lay the table for a formal dinner. Show homes are professionally set by interior designers and most of us don’t live that way.
- Check that all your lightbulbs are working, especially ceiling spotlights as they are often used by photographers. They are unlikely to turn on lights with bare bulbs but some rooms lend themselves to the lighting installed.
- If there’s a small bedroom or garage perhaps use that to store all the items you’ve tidied away from the rest of the house for the photo presentation. It’s only for a short time and it’s all the little things that make the biggest impact.
Allow between an hour to two hours for the photographers session, although it could take up to three hours if you’re also having a 3D tour produced. This appointment will also cover the production of a floorpan and EPC (energy performance certificate).
Above all, try to view the presentation of your property from a fresh perspective as a potential buyer.
If have any questions or would like further professional advice on presenting your property for sale, just ask your Henry Adams negotiator.